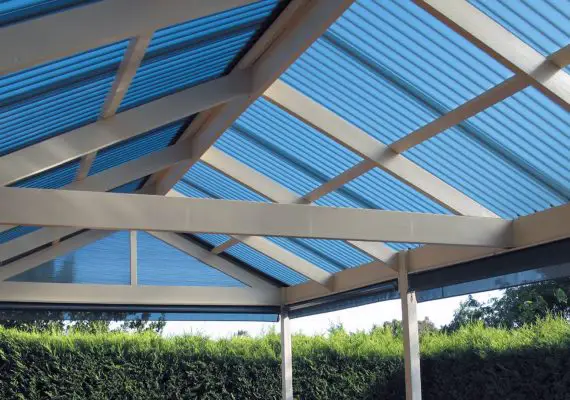
Can You Use Rolled Roofing on A Pitched Roof?
Can You Use Rolled Roofing on A Pitched Roof?
Yes, Rolled roofing material is often used on low-sloped roofs. If your roof pitch declines up to 1 inch vertically for every 12 inches horizontally (1:12 pitch), it is a good candidate for rolled roofing as long as you use the concealed nail method of fastening.
Rolled roofing is a type of roofing material that is made up of individual rolls of material. This material is often used on low-sloped roofs, as it can be easily applied and does not require special fasteners.
To use rolled roofing on a pitched roof, the roof’s pitch must be no more than 1 inch vertically for every 12 inches horizontally. This is because rolled roofing is only manufactured in a limited number of widths. At a pitch of 1:12, the maximum width that can be used is 32 inches.
If you exceed the 1:12 pitch guideline, you may experience leaks at the seams and around fasteners due to how rolled roofing is installed.
On flat roofs, it can be difficult to install rolled roofing using the concealed nail method because there is no slope to hold nails in place while they set. For this reason, a hot asphalt adhesive should be used instead of nails.
Do You Need To Vent A Pitched Roof?
For appropriate ventilation and to prevent condensation in roof voids, pitched roofs with ceiling-level insulation must be vented to the exterior air: Ventilation apertures must prevent the introduction of animals such as birds.
Venting the tops of pitched roofs is unnecessary, but if ceiling insulation is installed, ventilation must be provided.
A pitched roof with a slope of 22 degrees or steeper can experience condensation in the roof voids caused by rainwater, snowmelt, and moisture released from the roof assembly.
Moisture and condensation can cause rot in the materials used to build the roof and cause major damage to building components. Condensation is usually a problem only on flat roofs where an attic is insulated.
Often, it only occurs during periods of extreme heat and humidity when high temperatures allow water vapour in the air to condense on the underside of insulation.
How Can I Make My Low-Pitched Roof Look Better?
There are a few ways to make a low-pitched roof look better: One way is to add interesting details to the roofline. This can be done by adding decorative trim, molding, or other architectural details. This will give the roof more visual interest and make it stand out more.
Another way to improve the look of a low-pitched roof is to use different materials. This can be done by using a different color shingle or adding a metal roof. This will give the roof more texture and make it more visually interesting.
Finally, another way to make a low-pitched roof look better is to keep it clean and well-maintained simply. This means removing the debris on the roof and keeping the gutters in good working order.
How Do You Add A Pitched Roof In Revit?
In order to add a pitched roof in Revit, you will need to take the following steps: First, you will need to select the roof tool from the Revit toolbar. Next, you will need to click on the point where you want the roof to start.
Then, you will need to click on the point where you want the roof to end. Finally, you will need to click on the point where you want the roof to the peak. After you have completed these steps, the pitched roof will be added to your Revit model.
It is possible to modify or change the pitch of an existing roof. To do this, follow the steps above and then use the Tab key to move through the points that make up the roof until you get to the ones you want to adjust.
Then, simply edit them as needed. If you want to add multiple pitched roofs in Revit, you can select multiple objects on a different layer and then select a point where they intersect. Then, run the slope command from that point.

