How Do You Build A Pitched Roof For A Gazebo?
How Do You Build A Pitched Roof For A Gazebo?
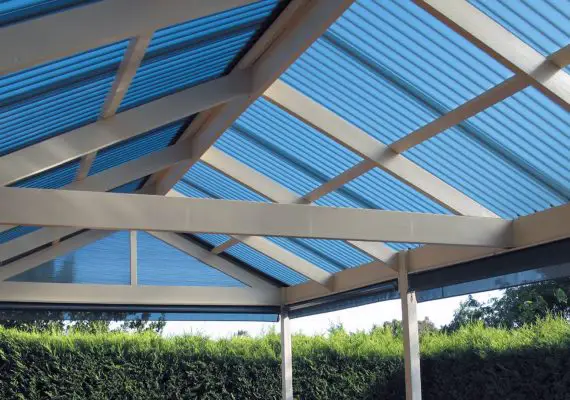
A gazebo is a pavilion generally located in a yard or garden. This structure provides a beautiful space that can be used to relax or entertain guests. Building a pitched roof for a gazebo is an ideal way to finish the project, especially if it will be used regularly.
When you are building a pitched roof for a gazebo, there are a few things that you will need to keep in mind.
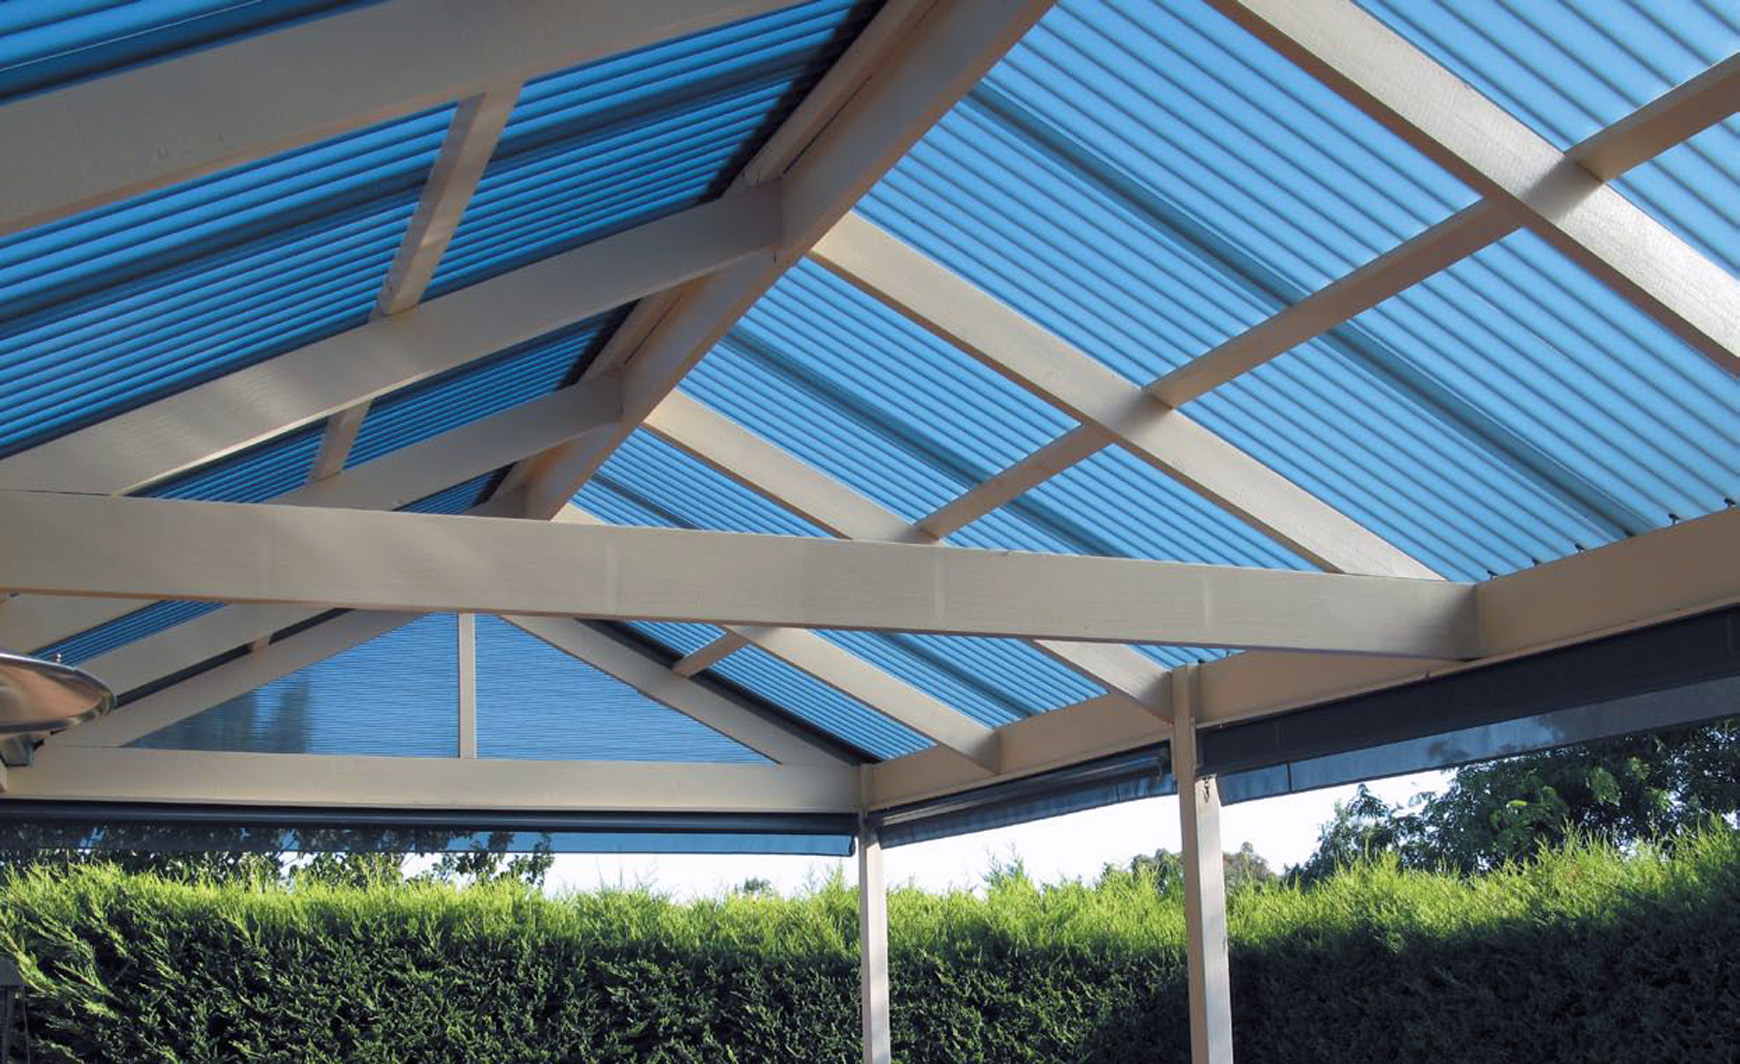
First, you will need to make sure that the roof is pitched at the correct angle. This will ensure that the rain and snow will be able to slide off of the roof properly.
Next, you will need to make sure that the roof is properly supported. You will need to use rafters or trusses to support the roof.
Finally, you will need to make sure that the roof is properly sealed. This will prevent water from leaking into the gazebo.
How Do You Build A Pitched Porch Roof?
A pitched porch roof is a popular choice for porches, especially in rural areas. This type of porch provides a lot of space underneath the roof and is great for gathering with family and friends or holding large social events.
Building a pitched porch roof may not be an easy task, but it can be done with careful planning and the right materials.
The first thing you’ll need to do is choose your materials. A good porch roof needs to be able to withstand weather elements such as wind and rain, which means you’ll have to select a material that is durable such as cedar or redwood.
Next, you’ll need to decide on the size of the roof. Generally, the longer and wider the porch, the better it will be able to handle weather elements.
You can then gather all of your materials and begin building a pitched porch roof. First, you’ll need to lay out two rows of 4×4 posts about 12 feet apart with a row of 4×4 access posts. Next, you’ll need to build a frame out of 2×6 or 2×8 boards at right angles to the posts.
The frame should have space for joists that are spaced 16 inches apart. You’ll then add rafters and ceiling panels above the frame and cover it with roofing material. You can use asphalt shingles or other materials.
How Do You Build A Pitched Roof For A Chicken Coop?
A chicken coop is where chickens get shelter from bad weather and predators. When constructing a pitched roof for a chicken coop, there are key considerations to keep in mind.
First, the pitch of the roof should be sufficient to allow for adequate drainage of rain and snow.
Second, the roof should be strong enough to support the weight of any potential predators that may attempt to enter the coop.
Third, the roof should be designed in a way that allows for adequate ventilation to ensure the health and well-being of the chickens.
To achieve an adequate pitch, the roof should be sloped at an angle of at least 30 degrees. To further ensure drainage, the eaves of the roof should extend beyond the walls of the coop by at least 6 inches.
To support the weight of predators, make sure the roof is constructed from materials such as cedar or redwood. These materials are strong choices and provide ample support for the weight of the poultry.
Ventilation is essential for the health of chickens and their eggs, so make sure the roof is equipped with a ventilated space that extends past the wall of the coop by at least 6 inches to prevent mildew buildup.