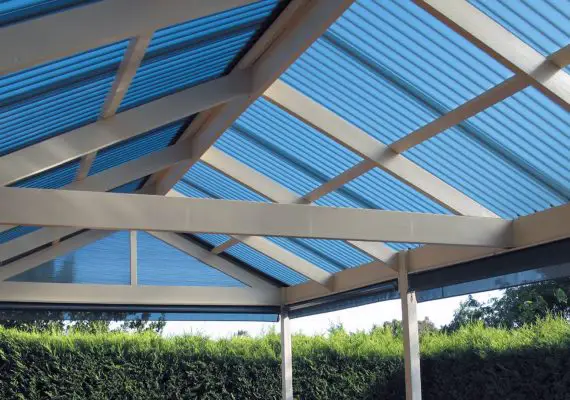
How Do You Install A Glass Roof?
How Do You Install A Glass Roof?
The glass roof of a conservatory is installed in seven distinct stages; Prepare the site, Build the canopy frame, Place the rails on the frame, Prepare the glazing beads, Attach the glass frame, Install the glass in the skylight, and Finish your skylight.
Step 1: Prepare the site.
The simplest method is to mount the glass roof on a plasterboard foundation. Determine the measurements of the glass roof (width and length) as well as the size of the supporting wall, and arrange the glass roof space according to the scenario.
Step 2: Build the canopy frame.
– Apply the measurements to the custom metal frame’s 30 30 mm angles (2 heights and 2 widths of the opening).
– Cut the angles at 45° at each end using a grinder and a protractor.
You may also use a mitre saw with a specific steel blade to make the cuts.
– Check the cuts by putting the 4-angle irons together. They should make a 90-degree angle.
– For each angle, use a suitable drill bit to drill the section that will rest against the support.
Step 3: Place the rails on the frame.
– Determine the precise placement of the canopy frame’s vertical rails.
– Determine the precise height within the frame at the relevant place for each rail and transfer it to the T-profile.
– Cut the rails to the height you want.
– Place and weld the rails in the frame rebate one at a time.
Important: To generate continuous rebates with the frame profiles, ensure that all T-profiles are oriented in the same direction.
Cross members should be drilled.
– Grind each weld to a smooth finish before inserting the glass.
– Drill holes at 30 cm intervals in the rails on both sides. The glazing beads can then be fastened on afterward.
It’s good to know that if you need to treat or paint the frame, now is the time!
Step 4: Prepare The Glazing Beads.
– Exactly measure the distances between the rails for the glass panes (height and breadth).
– Apply these dimensions to the 20 20 mm L-profiles.
– To produce the glazing beads, cut the profiles at a 45° angle, much as the angle bars.
– Make sure the glazing beads are at a 90° angle.
Drill the glazing beads
– Drill the glazing beads in the order listed.
– Internal (vertical) glazing beads are drilled every 30 cm in the same precise places as the cross members to which they will be fastened.
Every 40 cm, the side glazing beads (on either side of the entrance) are drilled (i.e., 1 hole out of 2, in the same locations as on the frame).
– Double-check the alignment of the holes in the glazing beads with those in the frame and crossbars.
Step 5: Attach the glass frame.
Important: This stage requires the participation of two persons.
Locate all of the support’s mounting holes.
– Mount the canopy frame to the bracket.
– Make sure it’s level and plumb with the floor.
To assist you in adjusting the level and plumb, use little shims.
– On the bracket, locate the previously drilled attachment holes in the frame.
Screw the frame into place.
– Take off the frame and drill mounting holes.
– Use dowels that are appropriate for the type of support.
– Represent the frame and secure it to its support:
Fix 1 hole out of 2 on the vertical uprights of the frame (offset from the holes intended for beading attachment);
Screw just the center hole between the crossbars.
Step 6: Install the glass in the skylight.
Use adhesive seals.
– Seal the whole inner perimeter (rebate) of the sash: frame, and transoms with an adhesive seal.
– Apply a sealer on the glazing beads as well.
Set up and secure the glass panes
– Set the first pane of glass in place, pushing it firmly against the seal.
– Using the free holes, connect the top and bottom glazing beads to the frame while one person holds the glass.
Install and fasten all glass panes the same way.
– Once this step is finished, use the remaining holes to attach the two side beads to the frame.
– Next, secure the inner glazing beads with bolts that pass through both beads and the crossbar.
Step 7: Finish the skylight.
Apply an acrylic seal between the glass frame and the wall.
– Allow it to dry before painting it the same color as the glass.
– If desired, paint the hardware.
It is highly recommended that you not clean up any glass roof until it has been installed and sealed. This will prevent any dust or debris from contaminating your glazing beads, which could result in a defect or poor performance of the finished product.

