What Are The Spinning Roof Vents Called?
What Are The Spinning Roof Vents Called?
Spinning roof vents are often called turbines, whirlybirds, or vents. They are a type of roof vent that provides a valuable service no homeowner should overlook.
The spinning roof vent is a small, round knob that protrudes from a residential rooftop. It is made of metal, plastic, or fiberglass, and is usually covered in a mesh or mesh cover.
The spinning roof vent is used to catch air and direct it down to the roof. This air is then used to cool the roof, and to help reduce the amount of heat that is lost through the roof.
The spinning roof vent is a very important part of a residential roof. It is often overlooked, but it is a very important part of the roofing system. If your roof needs to be replaced, make sure to include spinning roof vents in the list of repairs that are done.
What Happens If Your Roof Doesn’t Have Vents?
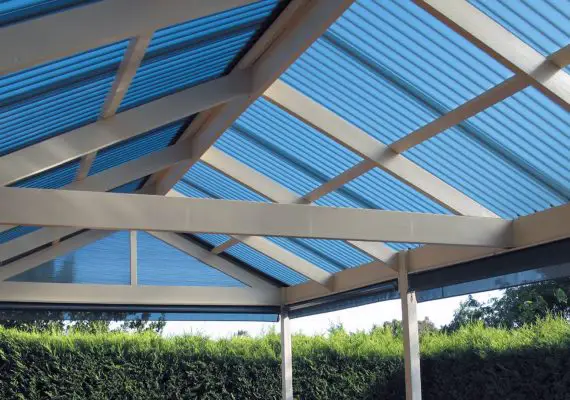
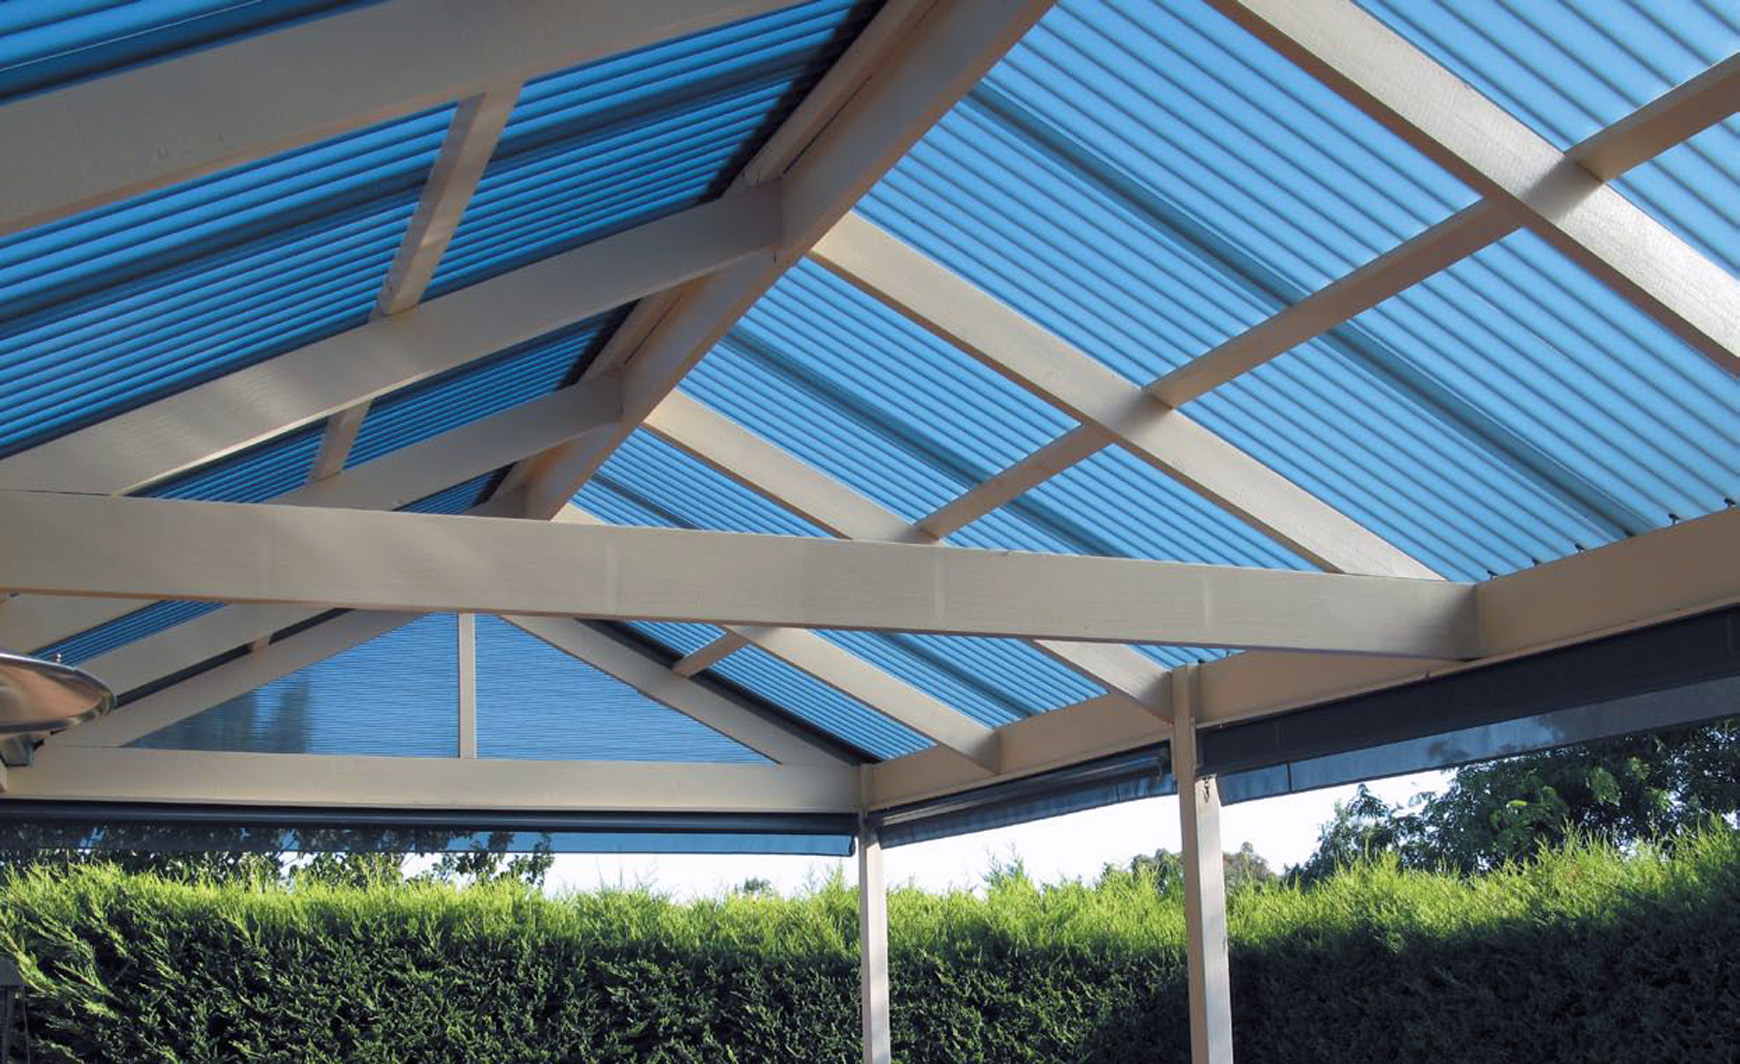
Ventilation is key to preventing attic temperatures from rising to 150 degrees or higher in the summer. This can result in damaged shingles and other roofing materials, as well as condensation buildup and the growth of mildew and mold.
Without sufficient roof ventilation, you are allowing the attic to remain hot. This might cause your shingles to be damaged and cracked much before they should.
In addition to the physical problems that can arise from a lack of ventilation, you may also be subject to costly property damage. When the attic becomes too hot, the roofing materials can warp, causing a tear in the roof.
This can lead to water damage and a loss of insulation in the attic, which can increase your energy bills.
Do Roof Vents Have Mesh?
Most attic vents already have a mesh screen attached to them, but the screen might fall loose and need to be repaired.
To keep little insects out of your attic, you may need to affix a mesh screen with fewer holes than the original mesh. It’s important to make sure the mesh will not fall off.
Many attic vents already include mesh screening. This mesh screening can be placed inside the attic vent or on top of it. The screen helps to stop insects from entering your home, but it must be securely attached for best results.
In addition to the screen, many attic vents come with a canopy that extends from the top of the vent. This canopy allows some air to circulate through the vent and prevent condensation from forming on the top of it.
The canopy also prevents leaves and other debris from falling into an attic vent, which could lead to future problems with mold and mildew growth as well as rotting materials in your attic space.
How One Way Roof Do Vents Work?
One-way roof vents function by enabling heat to escape from the roof via convection. This means that as the temperature in your attic rises, hot air is forced out via the vents. Static vents are sometimes known as turtle vents or box vents.
There are a few things to keep in mind when using one-way roof vents. First, make sure you have the right size vent. Too large a vent will let too much air in, while too small of a vent will not allow enough air to escape.
Second, make sure the vent is installed correctly. If it is not installed correctly, the vent may not work as intended, which could lead to a dangerous attic fire.
Third, make sure the vent is cleaned regularly. Dust, spiders, and other insects can build up over time and create an unsafe environment for the building’s inhabitants.
Finally, be sure to check the condition of the roofing system periodically. A faulty roof vent can lead to significant water damage.
How Do You Clean Attic Roof Vents?
Vent cleaning is an important part of maintaining good attic ventilation, and it’ll save on air conditioning costs in summer and protect your roof from condensation in winter. Here’s how to do it:
- Find the vents. Your vents will be on the roof, near the soffit (eave). They’ll look something like this:
- Clear the debris. You’ll first need to clear the debris from the vents. This will include dirt, leaves, twigs, and other pieces of material that have built up over time. Use a broom or a vacuum cleaner to remove all of the debris.
- Use compressed air. If the debris is really stubborn, you may need to use compressed air to blow it out. Use a compressor with a hose to blow the debris out of the vents. Be careful not to blow the debris into the building, or you may damage your roof.
- Clean the vents. Once the debris is cleared, you can clean the vents themselves. Use a hose or a scrub brush to clean the vents. Make sure to get into the corners and around the edges.
- Dry the vents. Once the vents are clean, dry them off. This will help prevent debris from forming again.
How Do You Clean Dryer Vents That Leave The Roof?
Dryer vents that leave the roof are often not cleaned as often as other types of vent, but they can be. Here’s how you do it:
- First, remove the dryer from the wall. Be sure to plug in the dryer, as you may risk electrocution if you don’t.
- Then, switch off the power to that room. Find the breaker box and flip the correct breaker.
- Remove the dryer’s and the wall’s vent tubes and ducts.
- Vacuum the interior of the dryer as well as the tubing and this will clear out the hair and lint.
- Insert a leaf blower through the hole in the wall, then turn on the blower to blow out all of the dust, lint, and particles from the vent.
- Wrap a towel around the opening and the leaf blower to prevent lint from entering the house. It’s a good idea to wear goggles as well.
- Start the leaf blower and let it run for about 40 seconds in order to clear out any remaining lint.
- Bring someone with you who can walk outside and check to see whether lint is coming out of the vent. If no one is available, switch off the leaf blower and go outdoors. Lint should be visible on the roof and the ground, so you can check from above and below.
- When finished, reconnect the dryer vent hose 10. Then, restart the power supply 11. Finally, reconnect the dryer and place it against the wall.
How Do You Install Roof Box Vents?
Box vents or box vents are simple to install, although you may need a bit of help if you have issues getting the vent through the roof opening. These vents can also be installed on the outside of a building, provided that the roof is flat. Here’s how to install one:
- Mark the location of the vent with a nail driven through your roof. It’s best to keep the vent within two inches of the roof line, although three inches is a good place to start. Be sure this nail does not interfere with your insulation or ventilation.
- Remove any shingles that will be damaged by the vent. Set them away for a later day by leaning them against the roof.
- Drill a hole around the nail you used to mark the vent location. Take care not to cut any rafters, and drill the holes as close to the edge of the rafters as possible.
- Replace the bottom shingles. Caulk around old nail holes if necessary. Secure the shingles correctly, as you want the vent to be in contact with the roof.
- Use roofing tar and nails to secure the roof vent. A roof vent usually only requires 4-6 nails to be secured to your roof. It’s important that you use toe-nailers as opposed to roofing nails.
- Caulk around the hole to prevent debris from entering your attic space.