Tuck pointing ( Repointing ) Mortar Joints in Old Buildings
Tuck Pointing ( Repointing ) Mortar Joints in Old Buildings
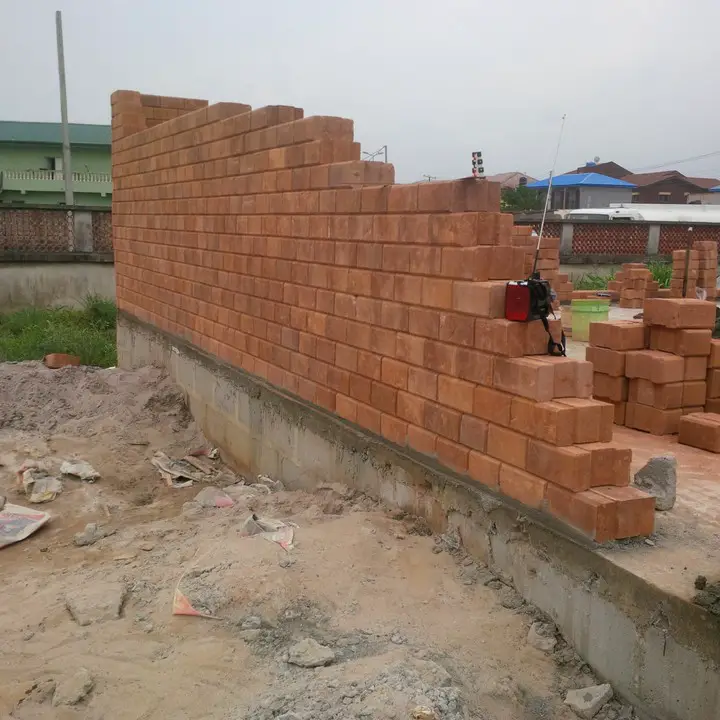
Mortar joints can be critically eroded over a period of time because of the changing seasons and wetting and freezing cycles. This is particularly real in the older houses where the brick and mortar joints have become softer over.
The mortar joints can be renewed and changed with the help of repointing, that is the way of doing away with the broken mortar and changing it with new mortar.
It isn’t always a job for an amateur, because it does require degree of skills and expertise of matching the authentic mortar.
Good time to repoint
Repointing needs to be done when the prevailing mortar joints started to get eroded or uncovered from the edges of the brick. Many of the older types of lime-based mortar, though smooth, are still structurally sound, as this was the nature of lime-based mortars.
It is not generally important to completely repoint all of the mortar joints in an antique building, however as a substitute to repoint only the chipped areas while being careful to suit the unique color, composition, and psi strength of the original mortar. The aim is to repair the brick work to its original look. The texture of the mixture is also important in achieving that authentic look.
My advice for blending an ordinary old repointing mortar is to use one part of Portland cement to two elements of mason`s hydrated lime to eight or 9 portion of sand or combination. This will result in a mortar with a energy of approximately 350 psi, that’s considered soft.
💥🎁 Christmas & Year-End Deals On Amazon !
Don't miss out on the best discounts and top-rated products available right now!
🛒 Shop Now and Save Big Today!*As an Amazon Associate, I earn from qualifying purchases.
The addition of the more lime to the combination causes the mortar to stick to the rims of the brick and additionally provides for the maximum support of the joint without cracking. Any hairline cracks will typically reseal themselves when rainwater comes in contact with the joints. This procedure in known as autogenous recovery.
Repointing Process
The first step in repointing is to remove any of the antique deteriorated mortar joints using a special plugging, electric powered grinder, or joint chisel, being careful not to chip the edges of the bricks. It is usually recommended to reduce the joints out to a depth of 3/4″ to at least one” for the good outcomes.
There are mechanical grinders available to do this on a massive scale, however they frequently damage the surrounding edges of the bricks.
After the joints had been reduce out to the required intensity, they ought to be brushed softly of all debris or old mortar after which wetted with a brush and water before repointing.
The repointing mortar should be mixed at a slightly smoother than that used while laying brick in a wall, and have to stick to the trowel and slicker pointing tool without falling off.
Complete the repointing process through brushing the area down with a medium smooth brush. The mortar will therapy and age with a bit help from Mother Nature and a few gentle rains.
💥🎁 Christmas & Year-End Deals On Amazon !
Don't miss out on the best discounts and top-rated products available right now!
🛒 Shop Now and Save Big Today!*As an Amazon Associate, I earn from qualifying purchases.
